Flushing your DNS cache could assist if you’re experiencing trouble seeing particular websites. Here’s what it entails, as well as how to accomplish it on both Windows and Mac.
When your Mac is trying to figure out how to load a page, it uses your DNS cache as a memory.
Although flushing the DNS isn’t tough, the procedure varies with each new os. On the newest macOS versions, we’ll guide you through the procedures to properly reset your DNS.
You might have tried to fix this problem with small fixes like Flush your DNS Cache on Mac, but this approach may not have worked. This post is the tech-savvy solution. Also, we have the best solution for that and this is MacKeeper.
Run a scan to identify any Malware on MacKeeper
- Download and Install Mac keeper from the button below.
- Choose Antivirus from the menu in MacKeeper.
- Start the scan by clicking the Start button.
- Allow time for the scan to complete.
- Take the advised measures if MacKeeper detects any suspicious files.
What is DNS Cache?
Because the cache contains IP addresses for the searched domains, this reduces project load times. Rather than rerouting to DNS servers, the system responds to queries directly from the cache.
The DNS cache is short storage on your PC that stores all of your recent DNS lookups. This allows your browser to resolve these lookups more quickly, reducing the time it takes for a web page to load.
Also Read: Macbook Won’t Charge – Here is How to Fix Macbook Not Charging
Why Clean the DNS Cache?
Every website you visit has its IP address saved in the DNS cache. Faster connections can be achieved by storing this data in a location where the browser can easily access it. However, flushing your DNS has advantages, such as safeguarding your browser history and assisting with the resolution of certain issues.
For some of the major reasons, you must clean the DNS cache of your Mac.
- For the security of your system, it is very crucial to keep your DNS free from malware.
- If you have the erroneous IP address in your cache for whatever reason, flushing your DNS will delete the faulty entry and force the browser to get the right IP address.
So if you are not aware of the multiple benefits of cleaning DNS cache from your system, you need to know them for the better health of your system.
Also Read: How to Fix kernel_task High CPU Usage on Mac (2021 Guide)
How Should you Delete your DNS Cache?
On a Mac, you’ll need to use the native command-line interface known as Terminal and perform the proper command to clear the DNS cache. Depending on whatever version of macOS you’re using, the procedure differs.
To clear your DNS cache on macOS Big Sur, follow these steps:
- To access the Terminal application, press the Spotlight search button or press Command+Space and,
- Type in Terminal, to access the Terminal application, press the Spotlight search button or press Command+Space
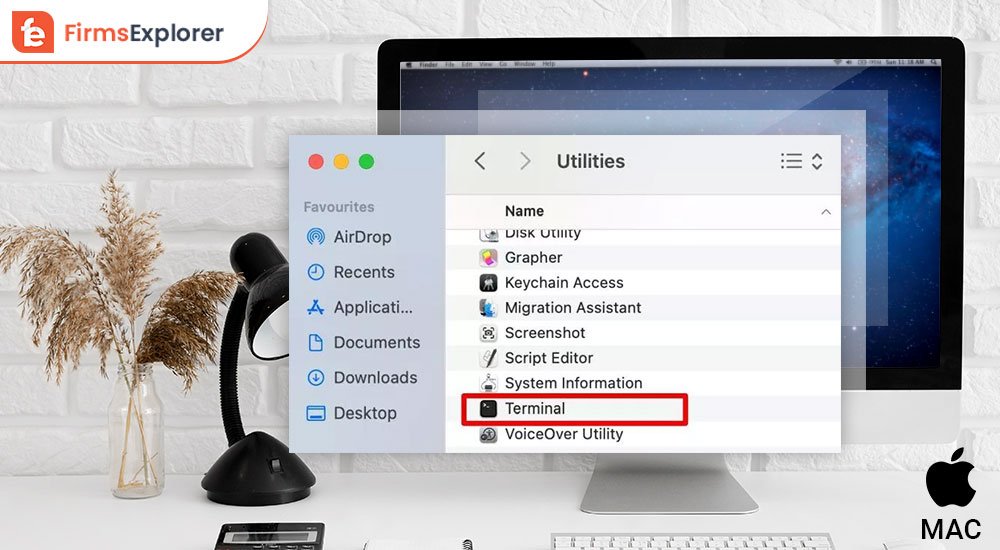
The thing to remember: If Spotlight doesn’t open Terminal, go to Go > Utilities > Terminal or click Applications, open the utility folder, and then double-click Terminal.
- Open Terminal and type the following command: “sudo killall -HUP; sudo dscacheutil -flushcache mDNSResponder”.
- To clear the DNS cache, enter your Mac’s password and then click Enter.
Also Read: Organize and Optimize Your Mac with these 7 Genius Tips
How to Clear the DNS Cache on macOS?
Older versions of macOS have different commands. This may be helpful to fix websites not loading on Mac. To clear the DNS cache in these earlier versions, do the following commands in Terminal:
- Run sudo killall -HUP mDNSResponder on macOS El Capitan or later.
- Sudo discoveryutil udnsflushcaches for macOS Yosemite
- Sudo killall is the command in Mac OS Lion, Mountain Lion, and Mavericks. -HUP mDNSResponder
- Sudo dscacheutil –flushcache on Mac OS Snow Leopard
- Run sudo lookupd –flushcache on Mac OS Leopard.
- Use lookupd –flushcache on Mac OS Tiger.
Check the affected website after flushing the DNS cache on your Mac to see whether the problem has been resolved and you can access it normally again.
MacKeeper: An Outstanding App to Clear Browser Caches:
If you’re using a Windows computer, MacKeeper is a Mac cleaner and optimizer app that helps you to clear the clutter on your Mac. You must follow the steps below to remove the DNS cache.
- MacKeeper is a free app that you may download and install on your Mac.
- In the right pane, open the tool and then go to the Cleaning area.
- Select Cleanup Safely.
- To begin scanning, press the blue Start Scan button.
- Next, choose all of the caches you wish to delete by checking the Caches box and clicking.
- To confirm your action, click the blue Clean Junk Files button.
- MacKeeper automatically deletes any trash files and erases all browser caches that are preventing the Mac from running correctly.
Also Read: How to Uninstall Apps on Mac OS – Delete Apps on Mac
How to Flush DNS in Windows:
The method of clearing the DNS cache is simple and quick. Almost all Windows systems follow the same method. We’ll be using Windows 10 in the example below.
- Load the Command Prompt as an administrator to flush DNS on your Windows PC.
- Start entering the command prompt into the Start Menu until it appears in the results.
- When the prompt appears, type ipconfig /flushdns and press Enter.
- It should just take a few seconds to complete the procedure. When it’s finished, the DNS Resolver Cache confirmation message should appear:
Your computer’s DNS Cache database is now empty.
1. How often should I clear the DNS cache On a Mac?
There is no set time limit, but you may do it as much as you like without harming your Mac.
2. How can I verify my DNS cache On a Mac?
To verify your Mac’s DNS cache, go to:
- Launch the Console application, choose your Mac, and then type any of the following:
i. In the search bar, type mDNSresponder.
ii. Enter sudo killall –INFO mDNSResponder in a Terminal window. - Return to the Console app and look at the list of DNS entries that have been cached.
You may also use your web browser to inspect DNS cache entries. - Enter chrome:/net-internals/#dns in the address bar to see the current list of cached DNS records if you’re using Chrome.
3. Is flushing DNS cache a good idea?
Yes, flushing the DNS cache on your Mac is safe. Although cached data is only temporary storage, clearing the DNS cache too frequently hinders it from performing its function of accelerating page loading.
Removing your Mac’s DNS cache helps you defend against cybercriminal manipulation, hide your search history, and fix technical issues with web apps.
Outline: You have got a number of great options to flush your DNS cache on Mac. The great way to make this process more benevolent for you is we have suggested you “MacKeeper”. MacKeeper will surely help you out to get your Mac free from Malware and other crashing issues. Hopefully, you have got the most promising solution to fix the issues of clear DNS cache in this article.


