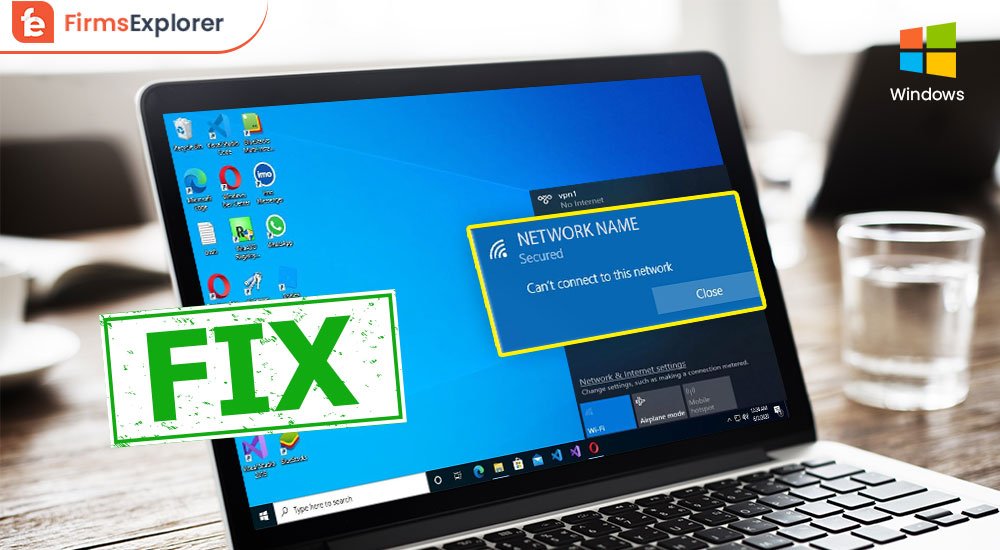
Do you want to ‘Fix can’t connect to this network’ problem in Windows 10? This is the most common problem faced by computer users. We’ll show you How to fix the Can’t Connect to This Network problem that you may be experiencing.
This issue begins to crop up when users with the newly released Microsoft Windows 10 switch their operating systems from an earlier version, like Windows 8.1 or Windows 7. The typical fix for this issue is to manually uninstall any Windows 10-related drivers from the computer’s Device Manager.
However, there are a few additional steps that users can take. We have prepared
Quick guide on how to Fix Can’t Connect To This Network Issues in Windows 10
Way 1: Fix can’t connect to this network issues in Windows 10 with ‘Forget Network’ settings.
Whenever a PC device is connected, it saves the details to make future logins easier. However, if the provider modifies the settings, the system may not link to the device. You must disconnect from the network and reconnect to resolve the network problem in that scenario.
- Go to Settings and select “Network & Internet.”
- Click “WiFi” and then “Manage recognized networks.”
- Click on the network provider, then “Forget.”
- This will sort out the issue of ‘PC not connecting to the network.’
Way 2: Turn on/off Airplane Mode if PC not connecting to network
Sometimes simply turning your Airplane mode on and off again may be enough, which may startle the PC into re-establishing the connection. Let us know the steps to put your PC on Airplane mode.
- Click on the right bottom of your PC, and you will get the screen shown below.
- Click on Airplane mode.
- It will be turned off.
- Now after the above step, turn it on again.
- Wait for some time, and you will see the fix of Can’t Connect To This Network.
Way 3: Turn on/off your router to fix network error
If your PC is not connecting to the network, try resetting your router. You may execute this by pulling the router’s plug to turn it off.
- If you opt to unplug the router, wait at least a minute to complete a full refresh.
- Reconnect it and wait for the router to reset.
This establishes a new connection to your ISP and, if all is well, you might be able to fix WiFi frequently disconnecting in Windows 10.
Way 4: Use Windows built-in network troubleshoot if your PC is not connecting to the network
Windows includes a network troubleshooter. You can use the troubleshooter to see if it can assist you.
- In the search bar at the bottom of your PC, type “network troubleshooter.”
- Select Identify and fix network issues.
- Wait until the network scan is finished before setting the network connection.
Way 5: Execute Networking Commands to connect your Network
You can try using networking commands to resolve “Can’t Connect To This Network” on Windows 10/8/7.
- Choose Command Prompt from the context menu when you right-click the Win icon in the taskbar (Admin).
Execute the following instructions in the sequence listed:
- Enter netsh Winsock reset (Reset TCP Settings) on the command line.
- Enter netsh int IP reset (to reset the TCP settings).
- Enter ipconfig /release (to release the IP address).
- Enter ipconfig /renew (to renew the IP address).
- Enter the command ipconfig /flushdns (Flush and reset the DNS client resolver cache).
Way 6: Clear the DNS cache and Renew/Reset IP to Fix Can’t Connect To This Network
To reconnect to the network, it is essential to clear the DNS cache and Renew/Reset IP in the system. Follow the instructions below to learn how to flush the DNS cache on Windows 10 OS.
- To launch the command prompt, go to the search bar and type “cmd” and hit Enter.
- You may now clear the DNS cache entries using the command “Ipconfig /flushdns.”
- When you run the command, Windows will clear the DNS and report the result of the successfully flushed cache resolver.
Way 7: Manually add a connection to fix network error
Windows has a tool that allows users to add a connection to the system manually. If nothing works for you, you can still follow this way to fix the ‘Can’t Connect to This Network’ problem.
- Access Control Panel, select “Network and Internet” and then “Network and Sharing Center.”
- A dialogue box will appear; select “Set up a connection or network.”
- Another dialogue box will appear; select “Manually connect to a wireless network.”
- Press the “Next” button.
- Enter the required information and press the “Next” button.
Way 8: Disable/Enable NIC if PC not connecting to network
There is the following way to find and fix network problems on your system by switching on and off the NIC. abide by commands given below to do so:
- To search for “ncpa. Cpl“, Press “Windows + R.“
- Click “OK.”
- A dialogue box will appear; right–click on the network.
- Select “Disable.”
- Activate it and restart the system.
Way 9: Backup the Network Adapter Driver to fix can’t Connect to This Network
If you have made changes to your network driver and are having trouble connecting to the internet, you may try repealing the prior version to see if it resolves the problem.
- Launch Device Manager.
- Navigate to Network Adapters.
- Select the inoperative network adapter.
- Select Properties from the network adapter by right–clicking it.
- Select a Driver.
- Then, backup Driver.
- If the button is not present, it implies there is no driver to roll back to on your Windows PC.
Way 10: Can’t Connect to This Network? Try Turning off Firewalls for some time
A firewall program might source a network connection problem on your Windows PC. You can temporarily disable the firewalls to determine whether the issue is to fix ‘WiFi is frequently disconnecting in Windows 10’. To turn off firewalls, follow these steps:
- Right–click the task’s Win icon and select Command Prompt.
- Set the allprofiles state to off using netsh advfirewall. Press the Enter key.
- Check whether you can access a web page on your browser.
Way 11: Try to Change the Power settings of your PC to fix missing network issue
You may quickly connect to the network by altering the power parameters and enhancing the overall system performance. To resolve this problem, follow the actions outlined below:
- Look for “Power and Sleep Settings.”
- Select “Additional power settings” from the drop-down menu.
- Select “Change plan settings.”
- Hit on “Modify advanced power settings.”
- Locate “Wireless Adapter Settings,”
- Choose “Power Saving Mode” from the drop-down list.
- Finally, select “Maximum Performance.”
- Click “OK” and then “Apply.”
Way 12: Reinstall or Update your Network settings for ‘network not connecting issue.’
If none of the above techniques work, you must download and update Microsoft WiFi adapter drivers from a set of possible drivers on your PC. These are the many network driver versions that have been preserved on your Windows 10 computer.
- Open Device Manager by going to Start and searching for it.
- Expand Network Adapters.
- Look for your WIFI driver.
- Look for an 802.11ac network adapter, which might be from Broadcom, Atheros, Realtek, or another manufacturer.
- Right-click the WiFi adapter.
- Select Update.
- Select “Browse my computer for drivers.”
- Choose “Let me pick from a list of available drivers on my computer.”
- Select the driver that corresponds to the date when your WiFi was operational, or choose an older version of the driver.
- To install the driver, click Next.
- Restart.
If the problem remains the same and you feel helpless about ‘How to fix Can’t Connect to This Network.’ Try the steps below:
- Uninstall Network Adapter by right-clicking on it.
- When you restart your computer, Windows will automatically reinstall it.
Way 13: Fix missing network issue with this Automatic Tool: Bit Driver Updater
Bit Driver Updater makes your Drivers work smoothly and run them fast with just a few uncomplicated steps. If you cannot get your missing network back and do not know How to fix Can’t Connect to This Network, this software allows you to update all kinds of drivers at your convenience. Let us understand how Bit Driver Updater works for your Drivers to Update Drivers automatically.
- Download Bit Driver Updater with the help of the button below.
- Hit on the Scan Now button.
- Now, Bit Driver Updater will detect the errors remaining in your drivers
- Hit the Update button.
- Your Drivers will be updated automatically.
Cheers! This is certainly going to let you find and fix the missing network issue.
Conclusion:
It is not hard to find that you are out of using your network, and the central problem comes when you have many options to fix this and are not much familiar with the technology. Here we have framed the top 13 ways to let you ‘fix can’t connect to this network problem.
We highly advise you to use Bit Driver Updater software to update your drivers easily. This software needs nothing of your efforts but just a click approach. Let us know which way you have tried before or which one you think works out of manual options. Subscribe to or newsletters for the updates of tech help.
Frequently Asked Questions
1. What is the definition of Airplane Mode?
Airplane mode is a setting on cell phones, smartphones, and other mobile devices that prohibits them from making or getting phone calls or text messages. Offline mode, standalone mode, and flying mode are variations in the term “airplane mode.” As the name indicates, the flight mode option is usually activated for safe usage aboard an airplane, where activities requiring signal transmission are prohibited.
A user using a device in flight mode cannot make or receive phone calls or text messages but may still use the device’s other capabilities, such as games or an MP3 player.
Flight mode is also known as aircraft mode, radios off mode, stand-alone mode, or offline mode.
2. Why is my Windows 10 PC unable to connect to the Internet?
There are many reasons for playing cruelly to keep you from using your network. The dilemma may be with your router, your DNS cache, and many more like forgotten passwords or changed pins, etc. This problem of your network can be easily fixed with some clear implications.
3. What should I do if I can’t connect to the network?
When you cannot fix network errors, you should check for them. Many ways can save your missing network, or with the help of them, you can quickly rectify your network problems. Still, if you do not know about any manual method that worked for you ever, try using Bit Driver Updater. This automated driver updating software can easily update your drivers. The number of other manual ways is listed below to swiftly get you to those solutions.
- Update your Driver
- Reset your Network
- Turn on/off Airplane Mode
- Uninstall Network Adapter setting
- Run Network Troubleshooter
- Enable/Disable NIC
- Flush DNS
- Update/Reinstall your Network settings
- Turn off the Firewall temporarily
- Change Power settings
- Execute Network Commands
- Use Automatic Tool; Bit Driver Updater (Download)
The list has all possible ways to get your network back on your Windows 10.
4. How do I disable 802.1 1n modes?
You need to follow the guide below to turn off IEEE 802.1x mode in your system.
- Go to the Control Panel.
- Double-click the Network and Internet Connections icon in the Control Panel window’s Pick a category section.
- Double-click the Network Connections icon in the Network and Internet Connections window, beneath or choose a Control Panel icon.
- Double-click the Wireless Network Connection icon in the Network Connections window.
- Select the Properties button on the General tab of the Wireless Network Connection Status box.
- Click the Wireless Networks tab in the Wireless Network Connection Properties box.
- In the Preferred networks: box, tap to select the connection is used on the Wireless Networks tab.
- Select the Remove option.
- Click to choose the connection that was just deleted from the Preferred networks: box in the Available networks: box.
- Select the Configure option.
- Go to the Wireless Network Properties window,
- In the Wireless network key (WEP) box, click to select the Data encryption (WEP enabled) tab.
- Select the Network Authentication (Shared mode) checkbox.
- Click the Authentication tab in the Wireless Network Connection Properties box.
- Select to clear the Enable network access control using the IEEE 802.1X box on the Authentication tab.
- Press the OK button.
5. How to Ping a Network to Determine Whether It Is Active?
Ping does a rudimentary test to see if a distant host is online, whereas traceroute examines the whole path network packets traverse from one host to another. Traceroute is beneficial for determining the source of network slowdowns and congestion.
Each operating system includes a command-line interface to execute the Ping command. On all platforms, the Ping command behaves nearly identically.
- Open the Command Prompt on your Windows.
- Enter “cmd” into the Search area after clicking the Start button.
- While on the Start screen in Windows 8, type “cmd.” To open the Command Prompt.
- Press Enter.
- Open the Terminal if you’re running Mac OS X.
- Open the Applications folder, followed by the Utility folder.
- Choose Terminal.
- Type ping followed by an IP address or a website address to execute the command, and then hit the Enter key.


